
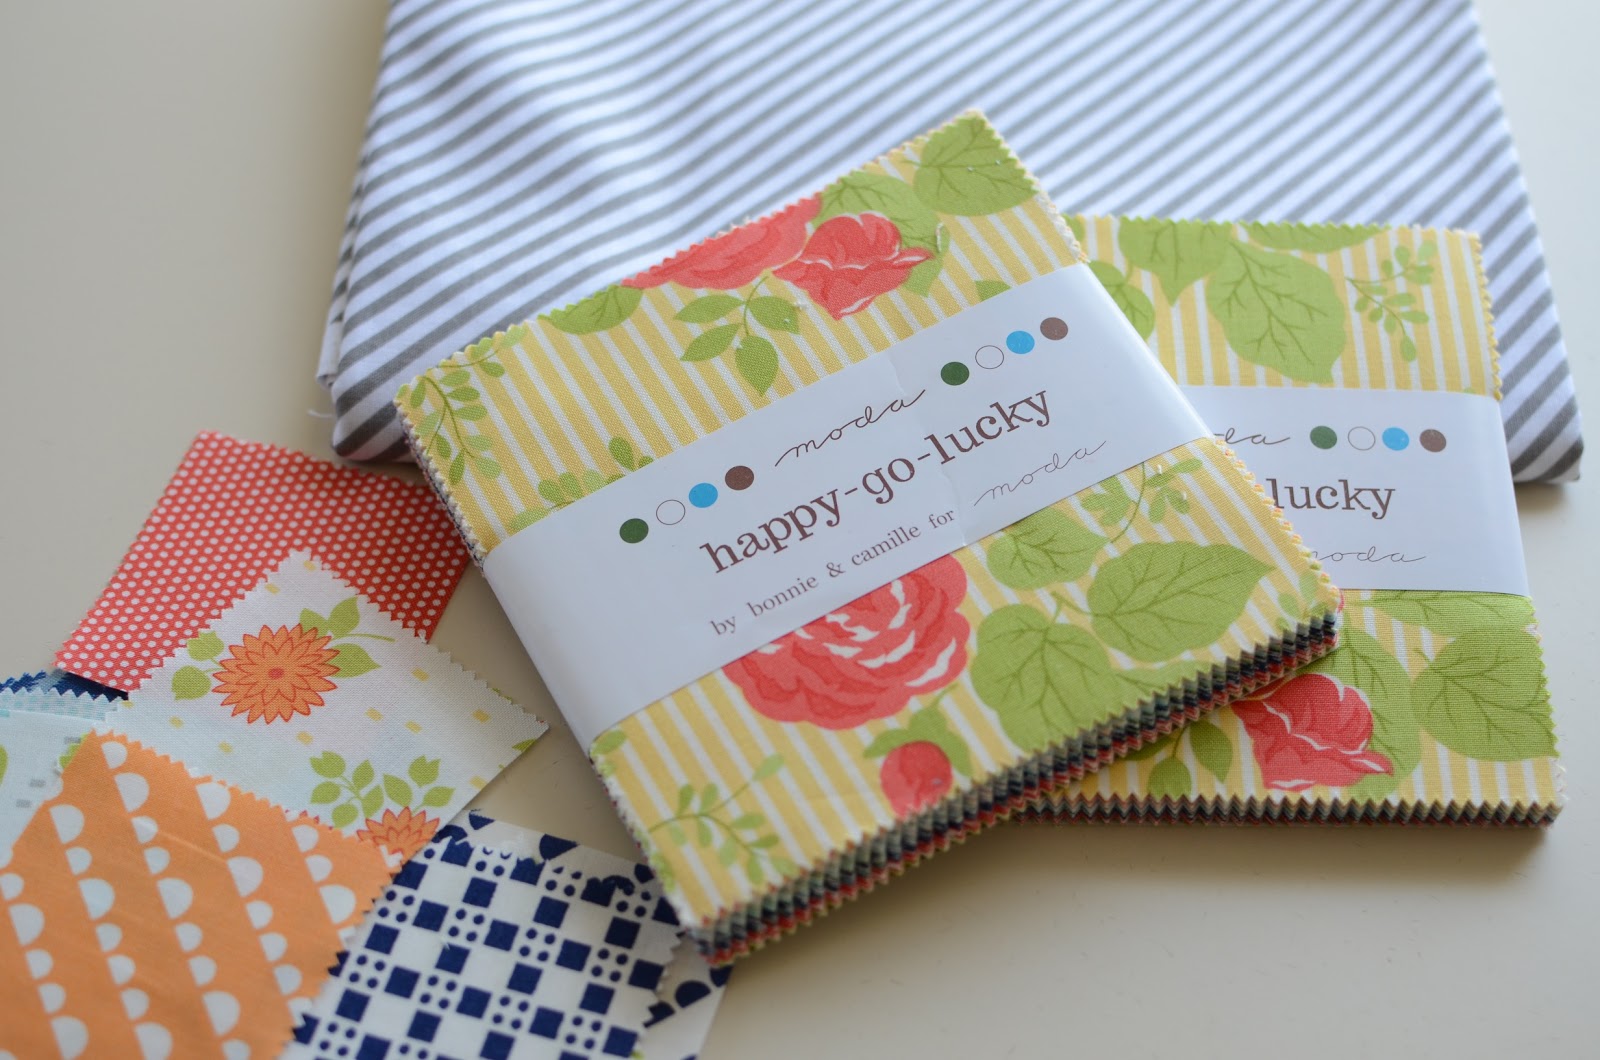
My happy-go-lucky charm packs arrived today, so I made some progress on my quilt. A few of you asked about making it, so I thought I'd do a quick tut on what I'm doing.
BTW- I also ordered this grey diagonal stripe. It will be great for binding - don't miss that one!
To make 50 nine-patch blocks and 49 snowball blocks, you'll need:
4 charm packs or 162 charm squares (5")
2 1/8 yards of white for the snowball blocks and inner borders
To finish the quilt like mine, you'll need:
7/8 yard for borders
5/8 yard for binding
4 yards for backing
To make the Nine-patch block, sew 2 charm squares together on one side. Cut them in half as pictured in both directions.

You'll end up with 2 sets of squares sewn together and 4 squares 2 1/2" (these are all print squares even though the light blue ones look white!)
Do this with 75 pairs of charm squares. Cut the remaining 12 charm squares in half in both directions, for 48 additional 2 1/2" squares. (You'll have 2 extra)

Sew one 2 1/2" square to each of the sewn pairs above for a row of three squares, Press the seams in one direction. Sew three rows together to make the block, alternating the direction of the seams so they fit together nicely. Make 50 blocks.

From your white fabric, cut 49 squares 6 1/2". For this you'll need 8 strips 6 1/2", plus one additional square.
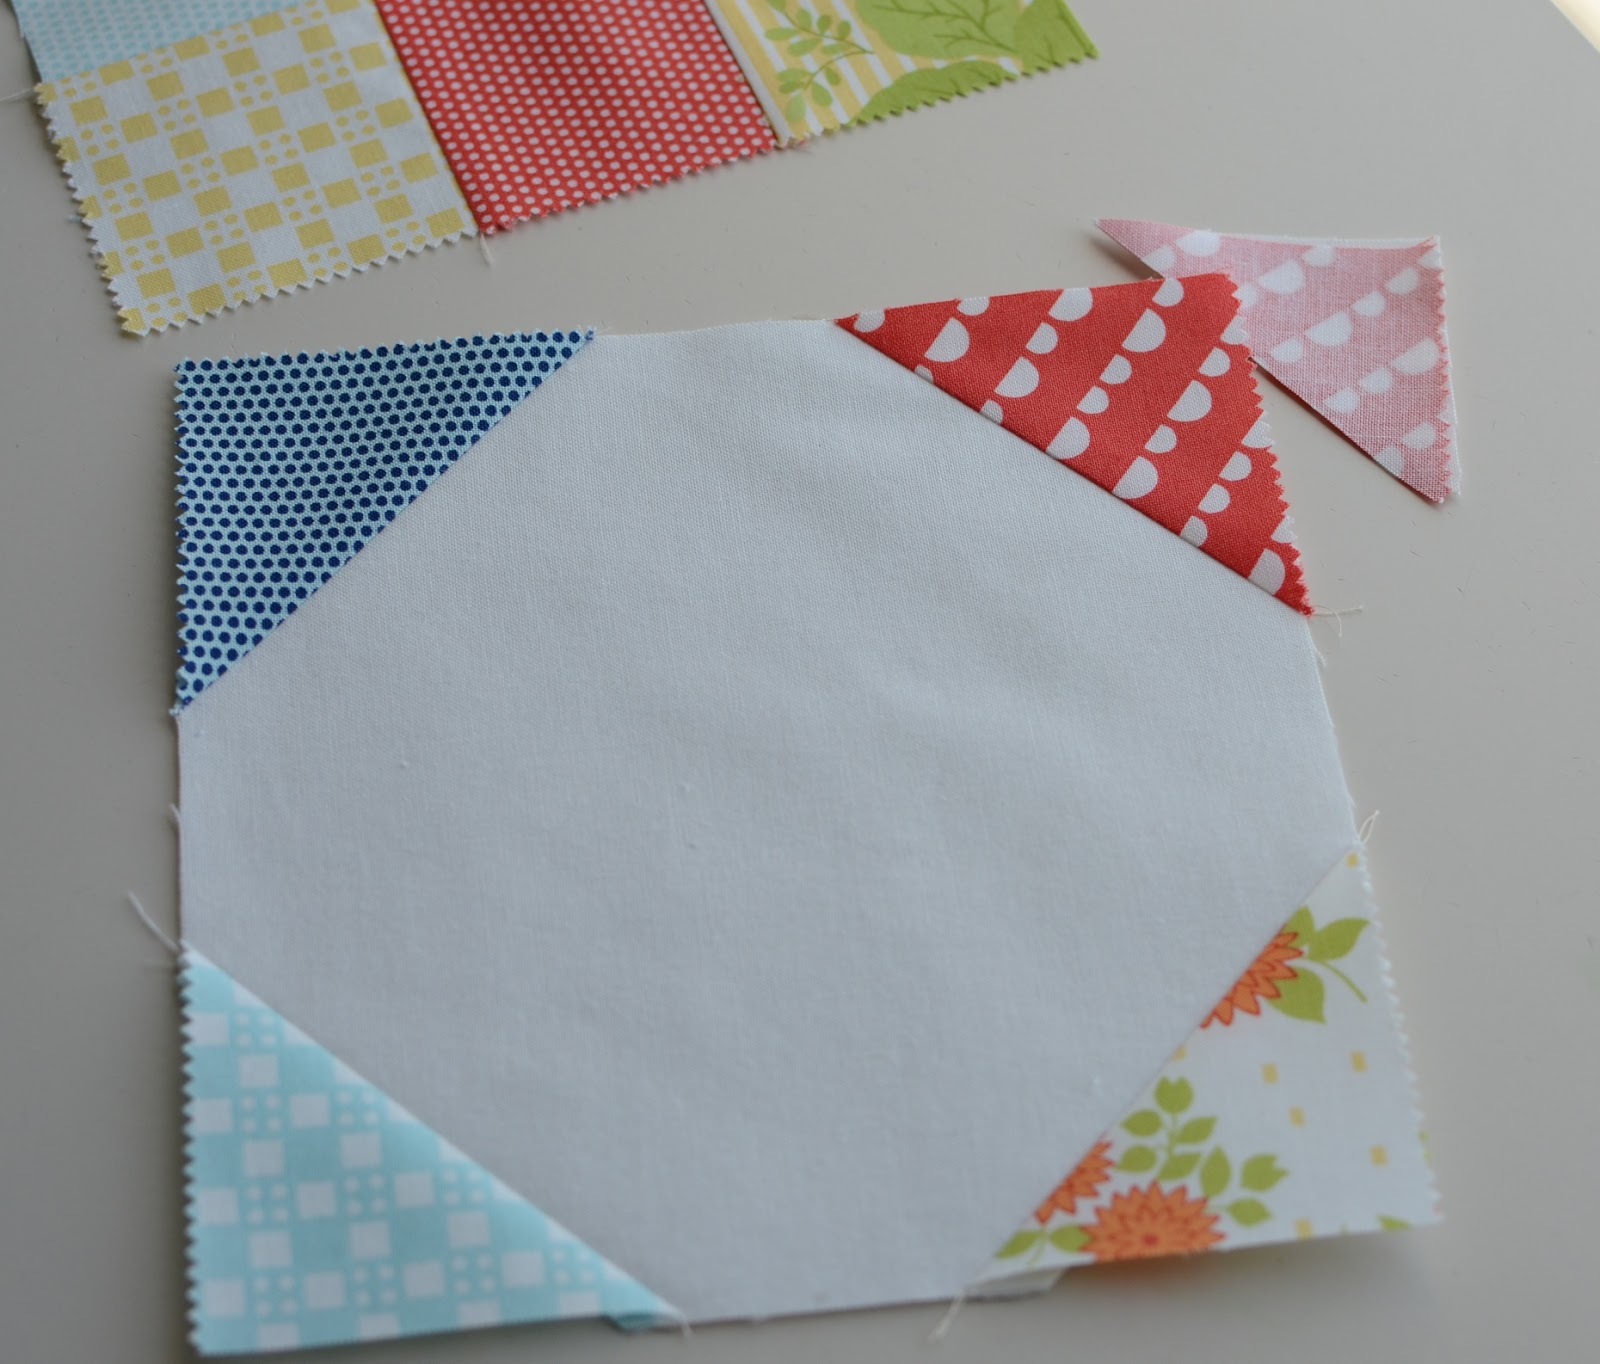
Draw a diagonal line on the wrong side of the remaining 2 1/2" squares or use an Angler to sew a small square on the corner of each white square.

Press and trim the seam allowance to 1/4". Make 49 Snowball blocks.
Set your blocks by alternating the two. Here's what I managed to finish today! I'm liking how scrappy it's looking. I'm adding in a few navies, some Simply color and some previous lines of Bonnie and Camille.

Mmmm... I'm trying to decide on a border and binding using my charm squares, so I'm ready when the yardage is available! What do you think?

. . . Cindy


This looks great with the simply color fabrics added in for more scrappiness. As for border, any of the bottom three are good. The top one has too much white, wouldn't frame well.
ReplyDeleteI have always loved the simplicity of this 2 block quilta. It always looks more complicated than it is and is a great choice for beginners or pros. This pattern looks great whether you use traditional fabrics like civil war fabrics or a modern pallet like you did.
ReplyDeleteI like the 2nd fabric from the top for the border. I think it picks up on all colors in the blocks and is dark enough to frame all those deep colors in the blocks. Thanks for another great tutorial. I am alwsys looking for ways to use my many charm packs up, so this was perfect.
Love this color combination!
ReplyDeleteWhat a great quilt. Thanks for the tutorial.
ReplyDeleteLiking the navy background with a few pompom things on it - or third up in bottom photo! The snowballs are begging for a bit of lovely quilting!
ReplyDeleteThis comment has been removed by the author.
DeleteI like the second one down. It doesn't compete with the pretty piecing.
ReplyDeleteThanks or the heads up on that great gray stripe. 1/2 yard will do a binding so i ordered 2 yards. Thats logical right? Wish it came in orange. :- )
ReplyDeleteAwesome all around. I'm inspired!
ReplyDeletei like the floral one for the border and the binding fabric is devine! love it all!
ReplyDeleteI love this quilt pattern. I like the bottom one - a fairly solid blue with a geometric binding - to tame the riot of pattern and color which is being contained. Cheers!
ReplyDeleteWell, you really need to wait 'til it's done to tell for sure, but I think the third one down might be the best-- not too dark, not too light....
ReplyDeleteThank you for posting this tutorial. I've got a stack o' 2.5" squares that will be perfect. And I might have ordered some Happy Go Lucky because I love yours so much.
ReplyDeleteThanks for the tutorial - I have 2 charm packs and want to start on it tonight!!! I appreciate you sharing!
ReplyDeleteLove it!
ReplyDeleteSweet quilt Cindy. Thanks for the tutorial on it. It looks like a nice relaxing project.
ReplyDeleteThis pattern is one of my favs too. I'd start right in making one with my scraps if I had all my other projects finished! Yours is going to be wonderful. Love your colors.
ReplyDeleteexcellent tut. I like the middle 2 border prints. Makes me hunger for some Happy Go Lucky!
ReplyDeleteThis is SO CUTE! Thanks for sharing your tutorial!
ReplyDeleteit's darling!! great tutorial also !!!
ReplyDeleteCan't wait to try this pattern! Thank you.
ReplyDeletewouldn't a layer cake work also?
ReplyDeleteThanks so much for this pattern. I am making a quilt for my sister's birthday. I'm doing a melange of blocks on the back to use up the material. These snowballs are perfect. A nice way to fussy cut some central designs on a layer cake. In my case, I had some lovely purple roosters with yellow and black background. I combined the fussy cut with whte and white with 2.5" squares and created a medallion on the inside surounded with the 9 patch. Great inspiration. I would note that using a scant 1/4 inch (watch your orientation as the scant needs to be to the left of your seam) helps the corner line up after the fold.
ReplyDelete